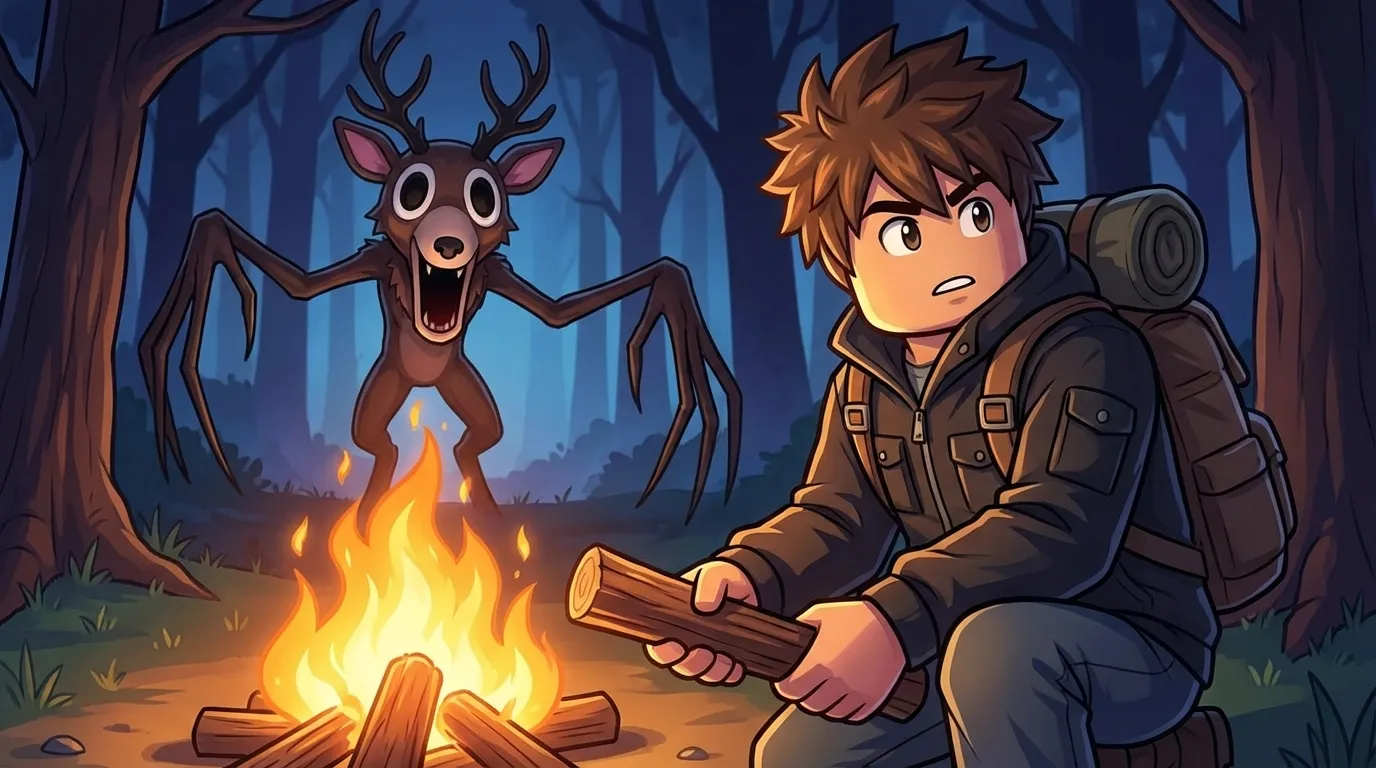
99 Nights In the Forest is one of Roblox’s most challenging survival games, and reaching day 100 takes more than just chopping wood and running from deer. Whether you’re playing solo or with friends, this guide breaks down everything you need to know—from your first campfire to rescuing all four kids and choosing the best class.
The game throws a lot at you early on: nighttime threats, starvation, cultists, and alpha wolves. But once you understand the core loop of looting, rescuing kids, and upgrading your camp, the path to day 100 becomes clear. Let’s dive in.
Your First Three Days: Building a Foundation
Day 1: Don’t Return to Base at Night
When you spawn in, you’ll be told to chop trees and feed your campfire. Do this until your campfire hits level 3, but here’s the critical tip most new players miss: don’t go back to base on your first night.
The deer won’t attack you on night one. Use this time to explore and loot as much as possible. If you get hungry, eat raw food—it does minimal damage compared to starving to death. Your goal is finding a weapon, preferably a revolver or spear.
Pro tip: Better-looking chests contain better loot. Prioritize ornate chests over basic wooden ones.
Day 2: The Pelt Trader Changes Everything
On your second day, the Pelt Trader arrives at your camp. This NPC is one of the most important characters in the game. He’ll ask for a bunny foot in exchange for one of three items:
- Old Flashlight (skip this—you’ll find these everywhere)
- Good Axe
- Good Sack
Always choose the Good Sack first. Extra inventory space means more efficient looting runs, which accelerates your entire progression. The Good Axe is great for your second trade, but sack space is king early on.
To get the bunny foot, hunt rabbits around the map until one drops. It’s RNG-based, so keep attacking them until you get lucky.
Day 3: Craft Your Essentials
By day three, you should be gathering wood for crafting, not just fuel. With three wood, craft a map—it’s one of the most valuable items in the game. Press M (or tap the map icon on mobile) to reveal explored areas. Gray zones are unexplored, meaning fresh loot spawns.
Next priority: craft an Old Bed. This adds an extra day to your progression every single cycle, speeding up your path to day 100 significantly. Don’t forget to actually place it down—it doesn’t work sitting in your inventory.
After that, build a Sundial to track day/night cycles. Knowing exactly how much time you have before the deer spawns makes looting runs way less stressful.
Rescuing the Kids: Your Path to Faster Progression
Each rescued kid grants you +2 days per cycle, dramatically speeding up your journey to day 100. There are four kids total, each requiring specific campfire levels and combat preparation.
The Dino Kid (Campfire Level 3)
Location: Check the Missing Kids board at your camp for the marker. You’re looking for a mountain area with cinder blocks.
Threat: Wolves with red collars (these are the ones that drop the red key).
Strategy: Use your revolver to headshot wolves—you’ll deal more damage and save ammo. Once you’re out of bullets, kite the remaining wolves by running in circles and hitting them from behind. Your Good Axe makes this much easier.
After clearing the wolves, use the red key to unlock the door, loot the chest inside, grab the kid, and head back to camp. Make sure to return before nighttime if possible.
The Kraken Kid (Campfire Level 4)
This rescue ups the difficulty with five alpha wolves instead of the usual pack. Don’t rush this one—spend time looting for better gear, food, and ammo first.
What you need:
- Plenty of revolver ammo (30+ rounds recommended)
- Cooked food or stews
- Ideally some basic armor
The fight itself follows the same pattern: headshots with your revolver, kite and melee when you’re low on ammo. Alpha wolves hit harder but have predictable attack patterns. Keep your distance and don’t get greedy with melee hits.
Before attempting this rescue, consider crafting a Crock Pot. It lets you cook multiple food items into high-hunger stews, keeping you out in the field longer without worrying about starvation.
The Squid Kid (Campfire Level 5)
Required: You absolutely need a rifle for this rescue. Revolvers won’t cut it against bears.
Threat: Two bears that deal massive damage.
Strategy: Headshots are crucial here—bears have a lot of health, and body shots waste precious rifle ammo. Keep maximum distance and never let them get close. They love getting stuck on terrain, so use the environment to your advantage.
Bring at least one extra stew in your inventory. This rescue takes longer, and running out of food mid-fight is a death sentence.
Important tip: Craft the Good Bed before this rescue if possible. It gives you even more bonus days per cycle (+4 instead of +2), and you’ll want that momentum going into the final rescue.
The Koala Kid (Campfire Level 6)
The final rescue is the toughest. You’re facing four to five bears, and this requires serious preparation.
Gear checklist:
- 30+ rifle rounds minimum
- 12+ revolver rounds as backup
- Iron armor (highly recommended)
- Multiple stews
- Flashlight with fuel (if attempting near nighttime)
The strategy is the same as the Squid Kid rescue but scaled up. Maintain distance, headshot only, and don’t panic. Bears drop a lot of food, so you can actually replenish some hunger during the fight.
Once you clear the bears, grab the yellow key, loot the chest (it usually has great stuff), rescue the kid, and immediately head back to base. If it’s nighttime, use your flashlight sparingly—only turn it on when the deer is actively chasing you to save fuel.
Crafting Priorities and Campfire Management
Your campfire level gates progression, so fuel management is critical. Here’s the priority list for crafting and campfire upgrades:
- Map (3 wood) - Essential for efficient looting
- Old Bed (materials vary) - Extra days per cycle
- Sundial (materials vary) - Time management
- Crafting Bench Level 3 (requires cultist gems) - Unlocks advanced items
- Lightning Rod (after level 3 bench) - Rain hurts, lightning is worse
- Crock Pot (mid-game) - Solves food issues permanently
- Good Bed (late-game) - Even more bonus days
- Biofuel Processor (situational) - Only if you’re struggling with fuel
Cultist gems drop from the red-robed cultists who attack your camp at night. Always kill the red one first—he’s ranged and annoying. Save these gems; you need them for upgrading your crafting bench.
Don’t waste wood on your campfire once you start finding fuel canisters and coal. By mid-game, looting provides more fuel than you’ll ever need.
Advanced Looting Strategies
Looting efficiently is what separates players who hit day 100 in 3-4 hours from those grinding for 10+.
Distance matters: The farther you go from your base, the better the loot, but the more dangerous the encounters. Early game, stay close. Mid-game, push boundaries.
Huts always have loot. Don’t skip the small buildings scattered around the map—they often contain fuel, food, or ammo.
Double harvesting: When chopping trees, you can harvest from two simultaneously if positioned correctly. Small optimization, but it adds up.
Gray zones on your map = unexplored loot. Always prioritize these areas when planning looting runs.
Night looting: Once you have a Sundial, you can gauge whether you have time for one more building before nightfall. Don’t get greedy—the deer is fast and deadly.
Food Management: Crock Pot Tips
Once you craft a Crock Pot, your food strategy changes completely:
Never eat non-Crock Pot food again. Raw food, cooked food, single items—everything goes into the pot for maximum hunger value.
Only use uncooked food. The Crock Pot cooks automatically, so cooking food first wastes time.
Carry one extra stew. Eat when you’re near full hunger, then keep a backup stew in your inventory for emergencies during looting runs.
The Crock Pot is genuinely one of the best mid-game crafts. It solves hunger permanently if you use it correctly.
Biofuel Processor: Do You Actually Need It?
Here’s the honest take: only craft it if you’re struggling with fuel.
If you’re looting efficiently, you’ll find more fuel than you can burn. I’ve had runs where my campfire was maxed on fuel by day 20 just from finding canisters and coal.
However, if you’re playing solo without much exploration time, or if RNG isn’t blessing you with fuel spawns, the Biofuel Processor is worth it. Place it facing your campfire (butt toward the flames) so it auto-dumps fuel directly in.
Most players skip it and invest resources into the Good Bed instead, which provides faster day progression.
Classes: What’s Worth Your Diamonds?
99 Nights has six classes ranging from 10 to 500 diamonds. Here’s the breakdown on what’s actually worth buying:
Skip: Camper (10 Diamonds)
Starting with a flashlight, less hunger drain, and increased night visibility sounds good on paper. In practice, these bonuses are negligible. Flashlights spawn everywhere, and hunger management becomes trivial once you have a Crock Pot. Save your diamonds.
Best Budget Pick: Scavenger (40 Diamonds)
Why it’s great:
- +2 sack space (massive early game advantage)
- Max level gives bonus scraps from chests
- Opens chests faster
Looting is the core gameplay loop. More sack space = more efficient runs = faster progression. This is the best bang for your buck.
Skip: Medic (40 Diamonds)
Reviving teammates is important, but there’s no revive timer in this game. You can wait until it’s safe, making the Medic’s perks situational at best. Only consider this if you’re playing in large groups and want to be the dedicated support.
Situational: Cook (40 Diamonds)
Starting with infinite seasoning and getting more hunger from food is solid if you struggle with food management. However, the Crock Pot essentially solves hunger permanently, making this class less valuable than Scavenger.
Good pick for players who dislike micromanaging food. Otherwise, skip it.
Best 70 Diamond Classes: Lumberjack vs Ranger
Lumberjack is incredible if you prefer melee combat:
- Start with a Good Axe (huge early advantage)
- Get up to 3 bonus logs per tree when maxed
- Double sapling drops
For players who want to rush resources and don’t rely heavily on guns, this is the move.
Ranger is perfect for gun-focused players:
- Start with a revolver and 18 ammo
- Max level gives 30 starting ammo
- 10% chance to refund ammo on shot
If you like staying at range and value safety, Ranger speeds up your early game significantly.
Both are great—pick based on your playstyle.
Pay-to-Win King: Assassin (500 Diamonds / $20)
If you’re willing to drop cash, Assassin is objectively the best class in the game. The starting perks trivialize early game, and the maxed-out bonuses make you unstoppable.
Worth it? If you play 99 Nights regularly and want to optimize runs, yes. If you’re casual or trying the game for the first time, absolutely not.
After Day 100: What’s Next?
Once you rescue all four kids and reach day 100, your journey doesn’t have to end. Here’s what endgame looks like:
You can AFK to higher days by ensuring your campfire has enough fuel and managing starvation. Some players push to day 500+ for bragging rights.
Oil drills and other advanced fuel methods let you sustain your campfire indefinitely with minimal effort.
The Good Bed is still craftable if you haven’t gotten it yet. It adds even more bonus days per cycle, making the climb to day 500 much faster.
Honestly, if your only goal is hitting day 100, you can basically chill after rescuing all four kids. Just keep fuel topped off, eat when hungry, and let the game run.
Final Tips for New Players
Don’t rush rescues. Each kid requires specific preparation. Going in undergeared wastes time and resources.
Explore aggressively early. The first few days are your safest window to loot without nighttime threats. Use it.
Headshots always. Whether it’s wolves or bears, headshots save ammo and time.
Use the Sundial. Knowing exactly when night falls prevents so many unnecessary deaths.
Cultist gems are precious. Don’t ignore cultists when they spawn—those gems unlock critical crafting upgrades.
Solo is harder but doable. If you’re playing alone, prioritize the Scavenger class and be extra careful with resource management.
99 Nights In the Forest rewards patience, preparation, and smart looting. Rush in without a plan, and you’ll be restarting on day 15. Take your time, follow this guide, and day 100 is absolutely achievable—even solo.
Good luck out there. The forest is dangerous, but with the right strategy, you’ll survive all 99 nights.