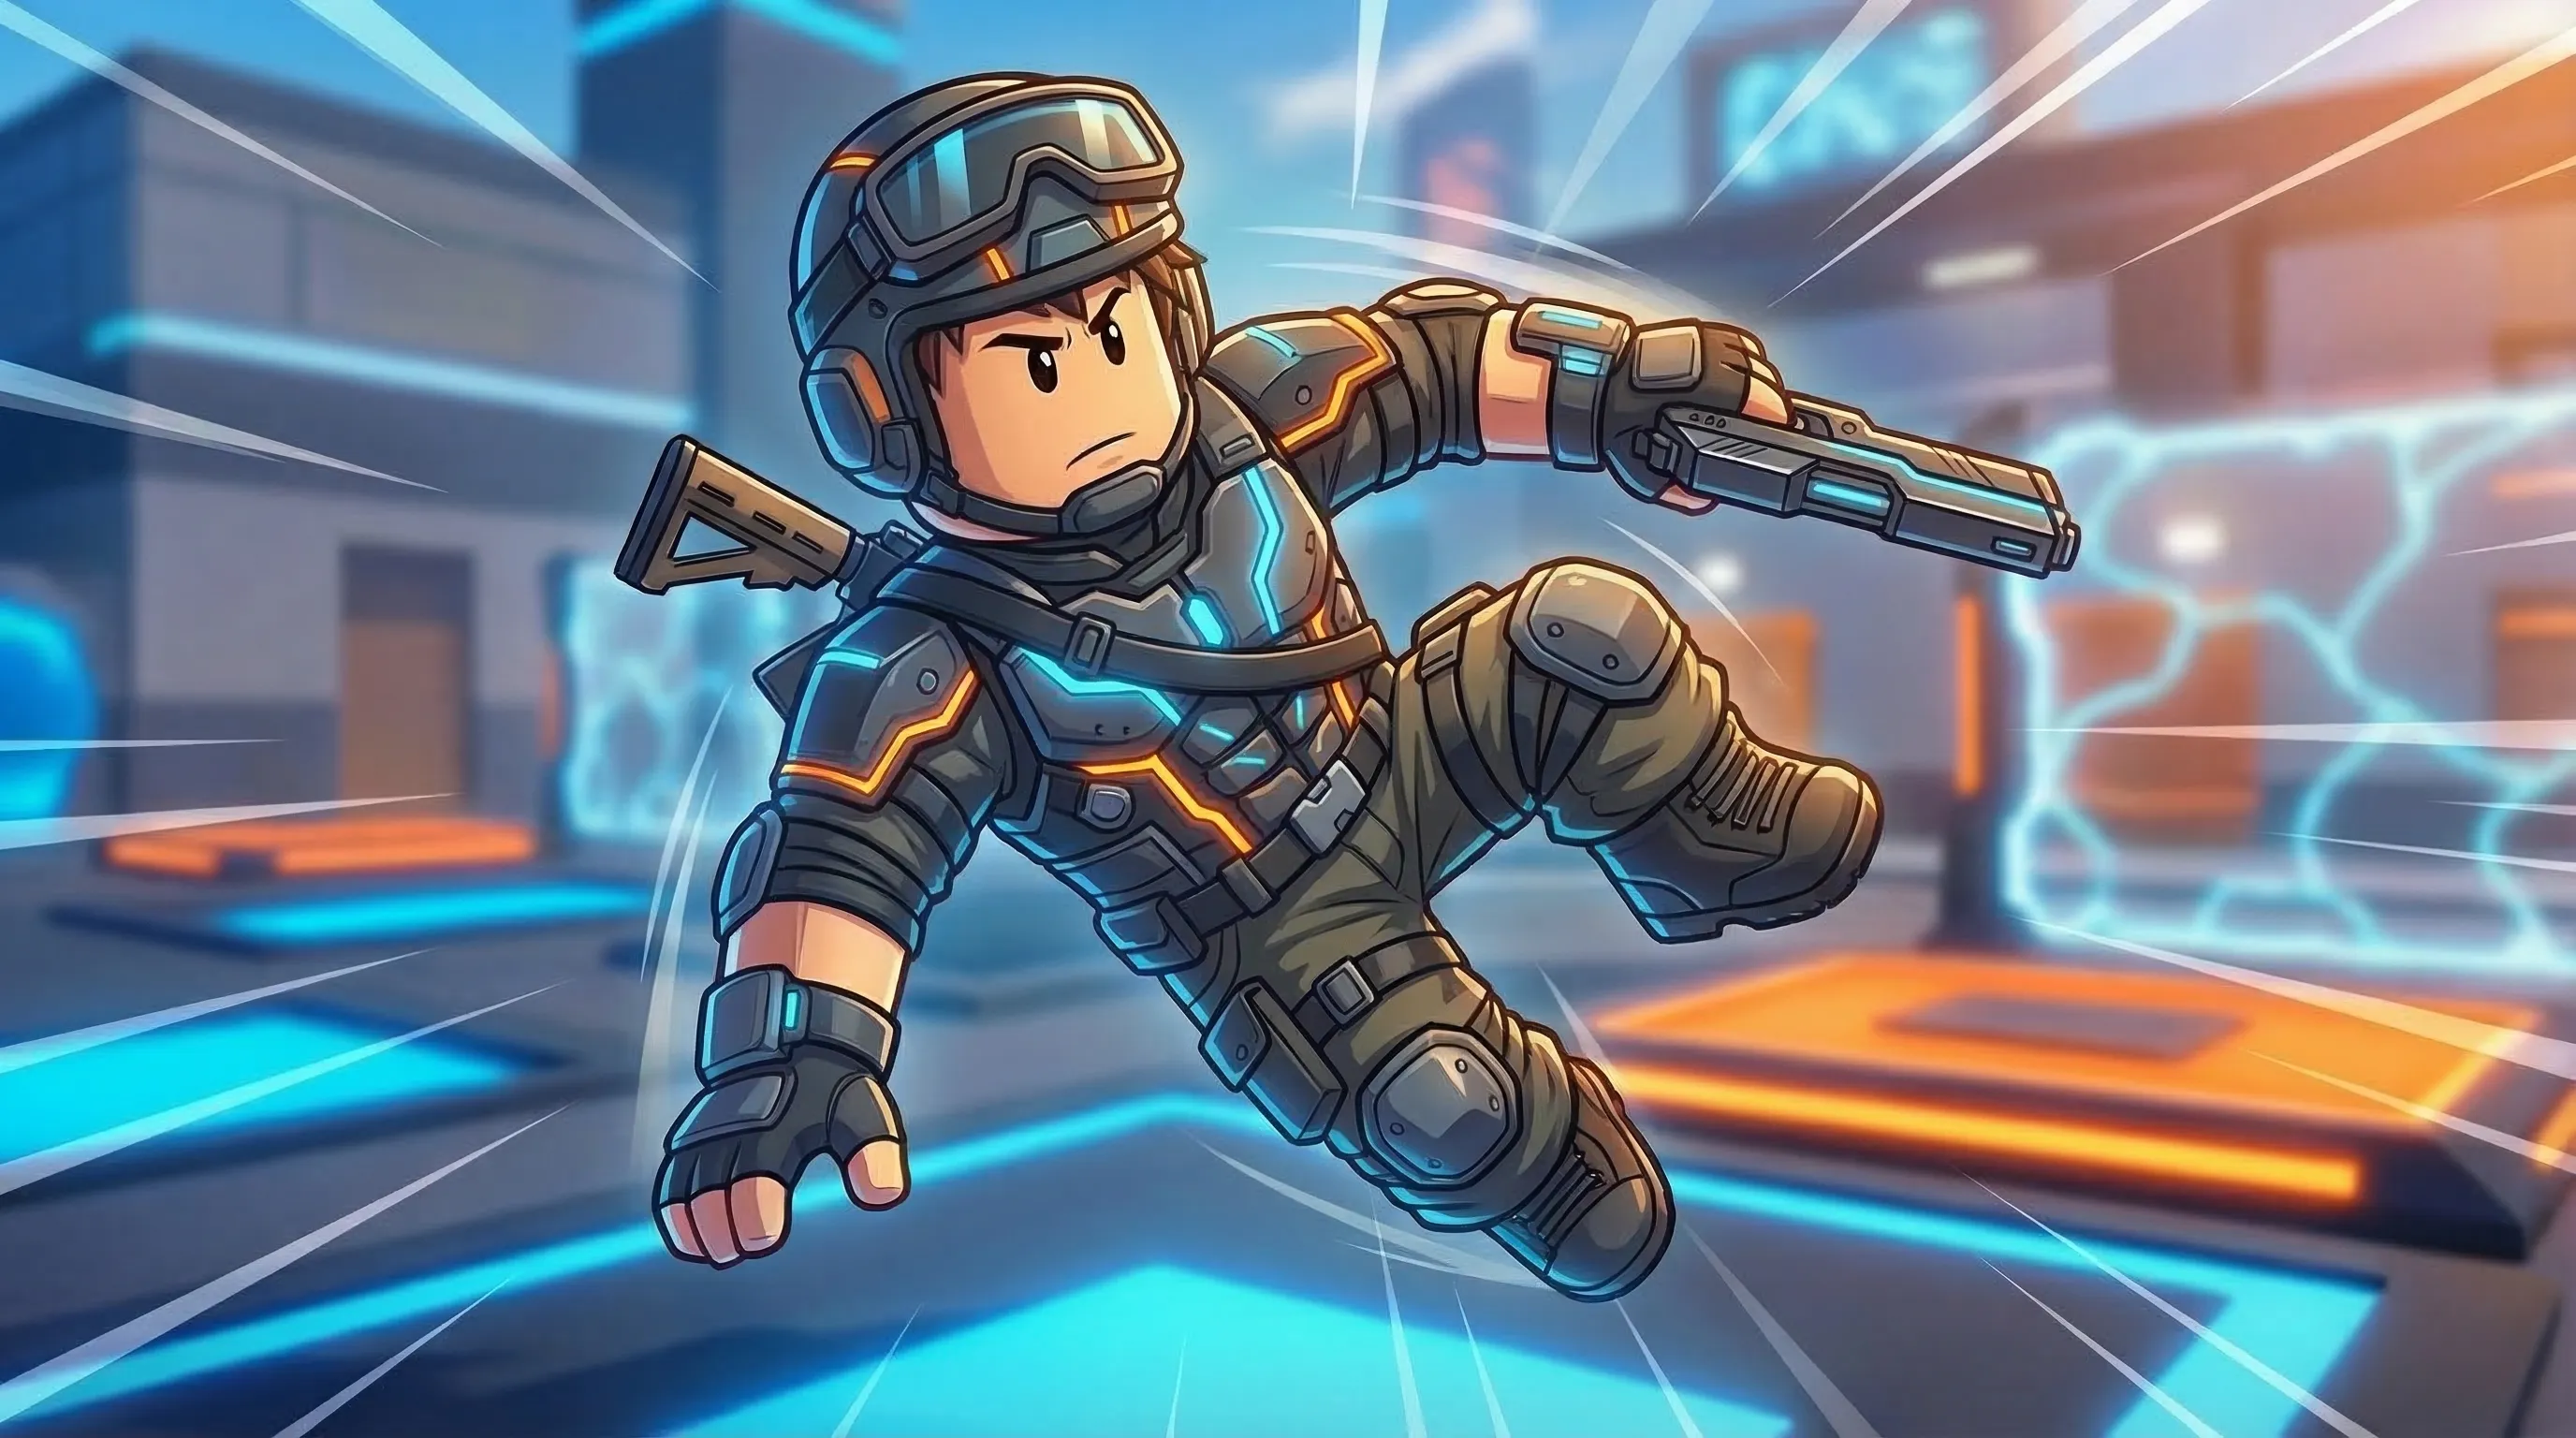
Arsenal isn’t just about aim and weapon knowledge — movement separates good players from great ones. Watch any high-ranked player and you’ll notice they’re constantly jumping, strafing, and repositioning in ways that make them incredibly hard to hit. Meanwhile, players who just walk around normally get deleted instantly.
This guide breaks down the essential Arsenal movement techniques that actually matter in competitive play. From basic bunny hopping to advanced air strafing, here’s how to move like the pros and stop being an easy target.
Key Techniques Covered: Bunny hopping, slide jumping, air strafing, crouch jumping, flick jumping, wall hopping, and rocket jumping. Start with BHOP basics and layer techniques as they become muscle memory.
Why Movement Matters in Arsenal
Arsenal’s fast-paced gameplay rewards mobility. Standing still or moving predictably gets you killed. Movement techniques serve three critical purposes:
Dodging bullets: Jumping and strafing makes you a harder target, especially at medium-long range where prediction matters.
Speed advantage: Proper bunny hopping gives you slight speed increases, letting you reach power positions first and escape dangerous situations.
Positioning superiority: Advanced movement lets you access elevated positions, flank angles, and shortcuts that walking players can’t reach.
The difference is night and day. A player with godlike aim but basic movement will lose to a moderately-skilled player who moves unpredictably and controls positioning. Master movement first, then focus on aim improvement.
Bunny Hopping: The Foundation
Bunny hopping (BHOP) is repeatedly jumping while moving to maintain momentum and speed advantages.
How to do it: Sprint forward, press spacebar to jump, then immediately press spacebar again when landing. Repeat continuously.
Why it works: Jumping gives a small speed boost. Chaining jumps maintains this boost instead of resetting to walking speed. You cover more ground and become harder to track.
Timing: Press jump right as you land. Arsenal is forgiving with timing, but rhythmic pressing beats button mashing.
When to use it: Almost always — rushing objectives, retreating, rotating positions. Only exception is when aiming precisely at long range.
Common mistake: Bunny hopping in straight lines makes you predictable. Good players will track your jumps and headshot you mid-air.
Slide Jumping: Speed with Style
Slide jumping combines crouching with bunny hopping for faster movement and a lower profile.
How to do it: Sprint forward, hold crouch (Ctrl/C), jump while crouching, release crouch in the air, then crouch again before landing. Repeat the rhythm.
Why it’s better: Maintains higher speed (55-60) compared to normal running. You’re also harder to hit because you’re lower during slides.
Learning curve: Significantly harder than normal BHOP. The crouch-jump timing needs to be tight. Expect several matches of practice.
When to use it: Long distance travel, escaping after kills, rotating between objectives. Avoid it in tight spaces or active gunfights.
Pro tip: Bind crouch to a mouse button. Holding Ctrl while managing WASD and spacebar gets awkward.
Air Strafing: Unpredictable Movement
Air strafing lets you change direction mid-jump, making your movement unpredictable.
How to do it: Jump, then while airborne move your mouse left/right and press A (left) or D (right) matching your mouse direction. Don’t touch W in the air.
Why it’s powerful: Enemies tracking your jump expect you to land predictably. Air strafing curves you mid-air, throwing off their aim. Also helps reach platforms or angles you’d normally miss.
Key insight: Your mouse controls air direction more than keyboard. Flicking right while pressing D curves you right.
When to use it: During gunfights to dodge shots, jumping around corners for surprise, reaching elevated positions.
Practice: Find maps with gaps between platforms. Practice jumping and air strafing to land on different spots.
Crouch Jumping: Vertical Movement
Crouch jumping gives extra vertical height for reaching ledges and boxes.
How to do it: Sprint toward an obstacle, jump, then press crouch at the peak of your jump (not before).
Why timing matters: Crouching too early kills your jump height. Crouching at the peak gives maximum vertical clearance.
Where it’s useful: Getting onto boxes for elevated sightlines, reaching shortcuts, escaping ground-level fights.
Arsenal note: Not every ledge needs crouch jumping. Arsenal’s physics are generous — test which obstacles actually require it.
Advanced Techniques: Flick Jumping and Wall Movement
These techniques require significant practice but give massive advantages once mastered.
Flick jumping lets you climb walls or reach extremely high positions by combining multiple mechanics. Sprint toward a wall, jump and immediately crouch, flick your mouse in the direction you want to go, then jump again mid-air while maintaining the flick. The timing window is extremely tight — jump too late or flick too slow and you fail. This takes dozens of attempts to get consistent. But on maps with tall walls or buildings where flick jumps give massive positional advantages, it’s worth every minute of practice. If you can reach a spot nobody else can, you control the match.
Wall hopping is flick jumping’s smaller cousin — you bounce off walls instead of climbing them. Approach a wall at an angle, jump and crouch, then flick your mouse slightly (not as extreme as flick jumping). It’s useful for quick direction changes during chases, dodging around corners, and stylish movement in tight spaces. Wall hopping is easier to learn than flick jumping and gives you a feel for wall-based movement before committing to the harder technique.
Weapon-Specific Movement: Rocket Jumping
Certain weapons in Arsenal allow rocket or recoil jumping — using weapon knockback to launch yourself across maps.
Weapons that enable this:
- Rocket Launcher (obvious choice)
- DB Shotgun / DBS (shotgun jumping)
- Barrett (sniper recoil)
How to rocket jump:
- Aim at the ground near your feet
- Jump
- Fire immediately after jumping
- The explosion/recoil launches you
Why it’s risky: Failed rocket jumps either kill you or drastically lower your health. Only worth it when reaching specific positions gives massive tactical advantage or you need emergency escapes.
When it’s actually useful: Specific maps with high ground positions, escaping multi-enemy situations, surprising enemies with unconventional angles.
Putting It All Together
Movement in Arsenal isn’t about using one technique constantly — it’s about knowing when to use each one.
Early game rushing: Bunny hop or slide jump to power positions before enemies arrive.
Active gunfights: Air strafe while jumping to make yourself harder to hit. Don’t slide jump during fights — too much focus on movement ruins your aim.
Repositioning: Bunny hop between cover points. Use crouch jumps to access elevated positions.
Escaping: Slide jump away while air strafing to make tracking you nearly impossible.
Flanking: Normal walking actually works here. Bunny hopping makes noise and draws attention. Walk to flank routes, then bunny hop once you’re in position.
Practice Routine
If you want to actually improve movement instead of just reading about it, here’s a practical practice routine:
10 minutes daily: Movement drills
- Bunny hop around an empty map, focusing on maintaining rhythm
- Slide jump laps, timing the crouch-jump sequence
- Air strafe between platforms without falling
In actual matches:
- Force yourself to bunny hop everywhere for the first 5 matches (even if you die more)
- Consciously air strafe during every gunfight
- Attempt one crouch jump to elevated position each match
Advanced practice:
- Watch replays of your deaths — could better movement have saved you?
- Spectate top players and study their movement patterns
- Join custom servers focused on movement practice
Movement vs Aim: What to Prioritize
Arsenal players debate whether movement or aim matters more. The reality? You need both, but master movement first.
Here’s why: Decent aim with great movement beats great aim with basic movement. If you can’t hit a moving target, your aim doesn’t matter. But if you move unpredictably, even players with better aim struggle to hit you.
Once your movement is solid, aim training becomes way more effective because you’re stable enough to actually land shots while moving.
Final Thoughts
Movement in Arsenal is the difference between being target practice and being a threat. Bunny hopping keeps you mobile, slide jumping maximizes speed, air strafing makes you unpredictable, and crouch jumping opens up positional advantages.
Start with basic bunny hopping until it’s muscle memory. Add slide jumping once normal BHOP feels natural. Layer in air strafing during fights. Finally, learn advanced techniques like flick jumping for specific map advantages.
The sweats dominating lobbies didn’t get there by standing still. They mastered movement first, then everything else fell into place. Time to stop being an easy target and start moving like you actually know what you’re doing.
Now get out there and start bunny hopping. Your K/D ratio will thank you.