If you’ve spent any time in Jujutsu Shenanigans private servers, you’ve probably seen someone pulling off a move that doesn’t look like anything in the base game — custom projectiles, cinematic grabs, counter attacks that flip fights in an instant. That’s all Skill Builder. It’s one of the most underrated features in Jujutsu Shenanigans, and since the February 2026 update added a wave of new blocks, it’s become deep enough to build moves that genuinely rival the official character kits.
The problem is that Skill Builder has basically no in-game tutorial. You open it for the first time and you’re staring at a block editor with zero explanation of what anything does. This guide breaks down every major block, how they interact, and how to get started building your first custom move without losing your mind.
What Is Skill Builder and How Do You Access It
Skill Builder is JJS’s custom move creation system, available exclusively in private servers. You can’t use it in public lobbies — everything you build gets tested and used in private server sessions only.
To get in: join a private server, press M to enable Free Build mode (or use the server commands panel under Players), then open the Skill Builder from your in-game menu. From there, place down a Moveset Block under Interactions, scale it up so your character can walk through it, and configure the Input ID and Display Name to label your move. That’s your foundation. Once you select “Custom” from the move list, the Skill Builder interface opens with three tabs — Timeline, Conditions, and Properties — and that’s where everything happens.
One important note: while Free Build mode is active, you can’t use your normal moveset, M1 attacks, dash, or block. Build mode is purely for creation. Test your moves by toggling it off.
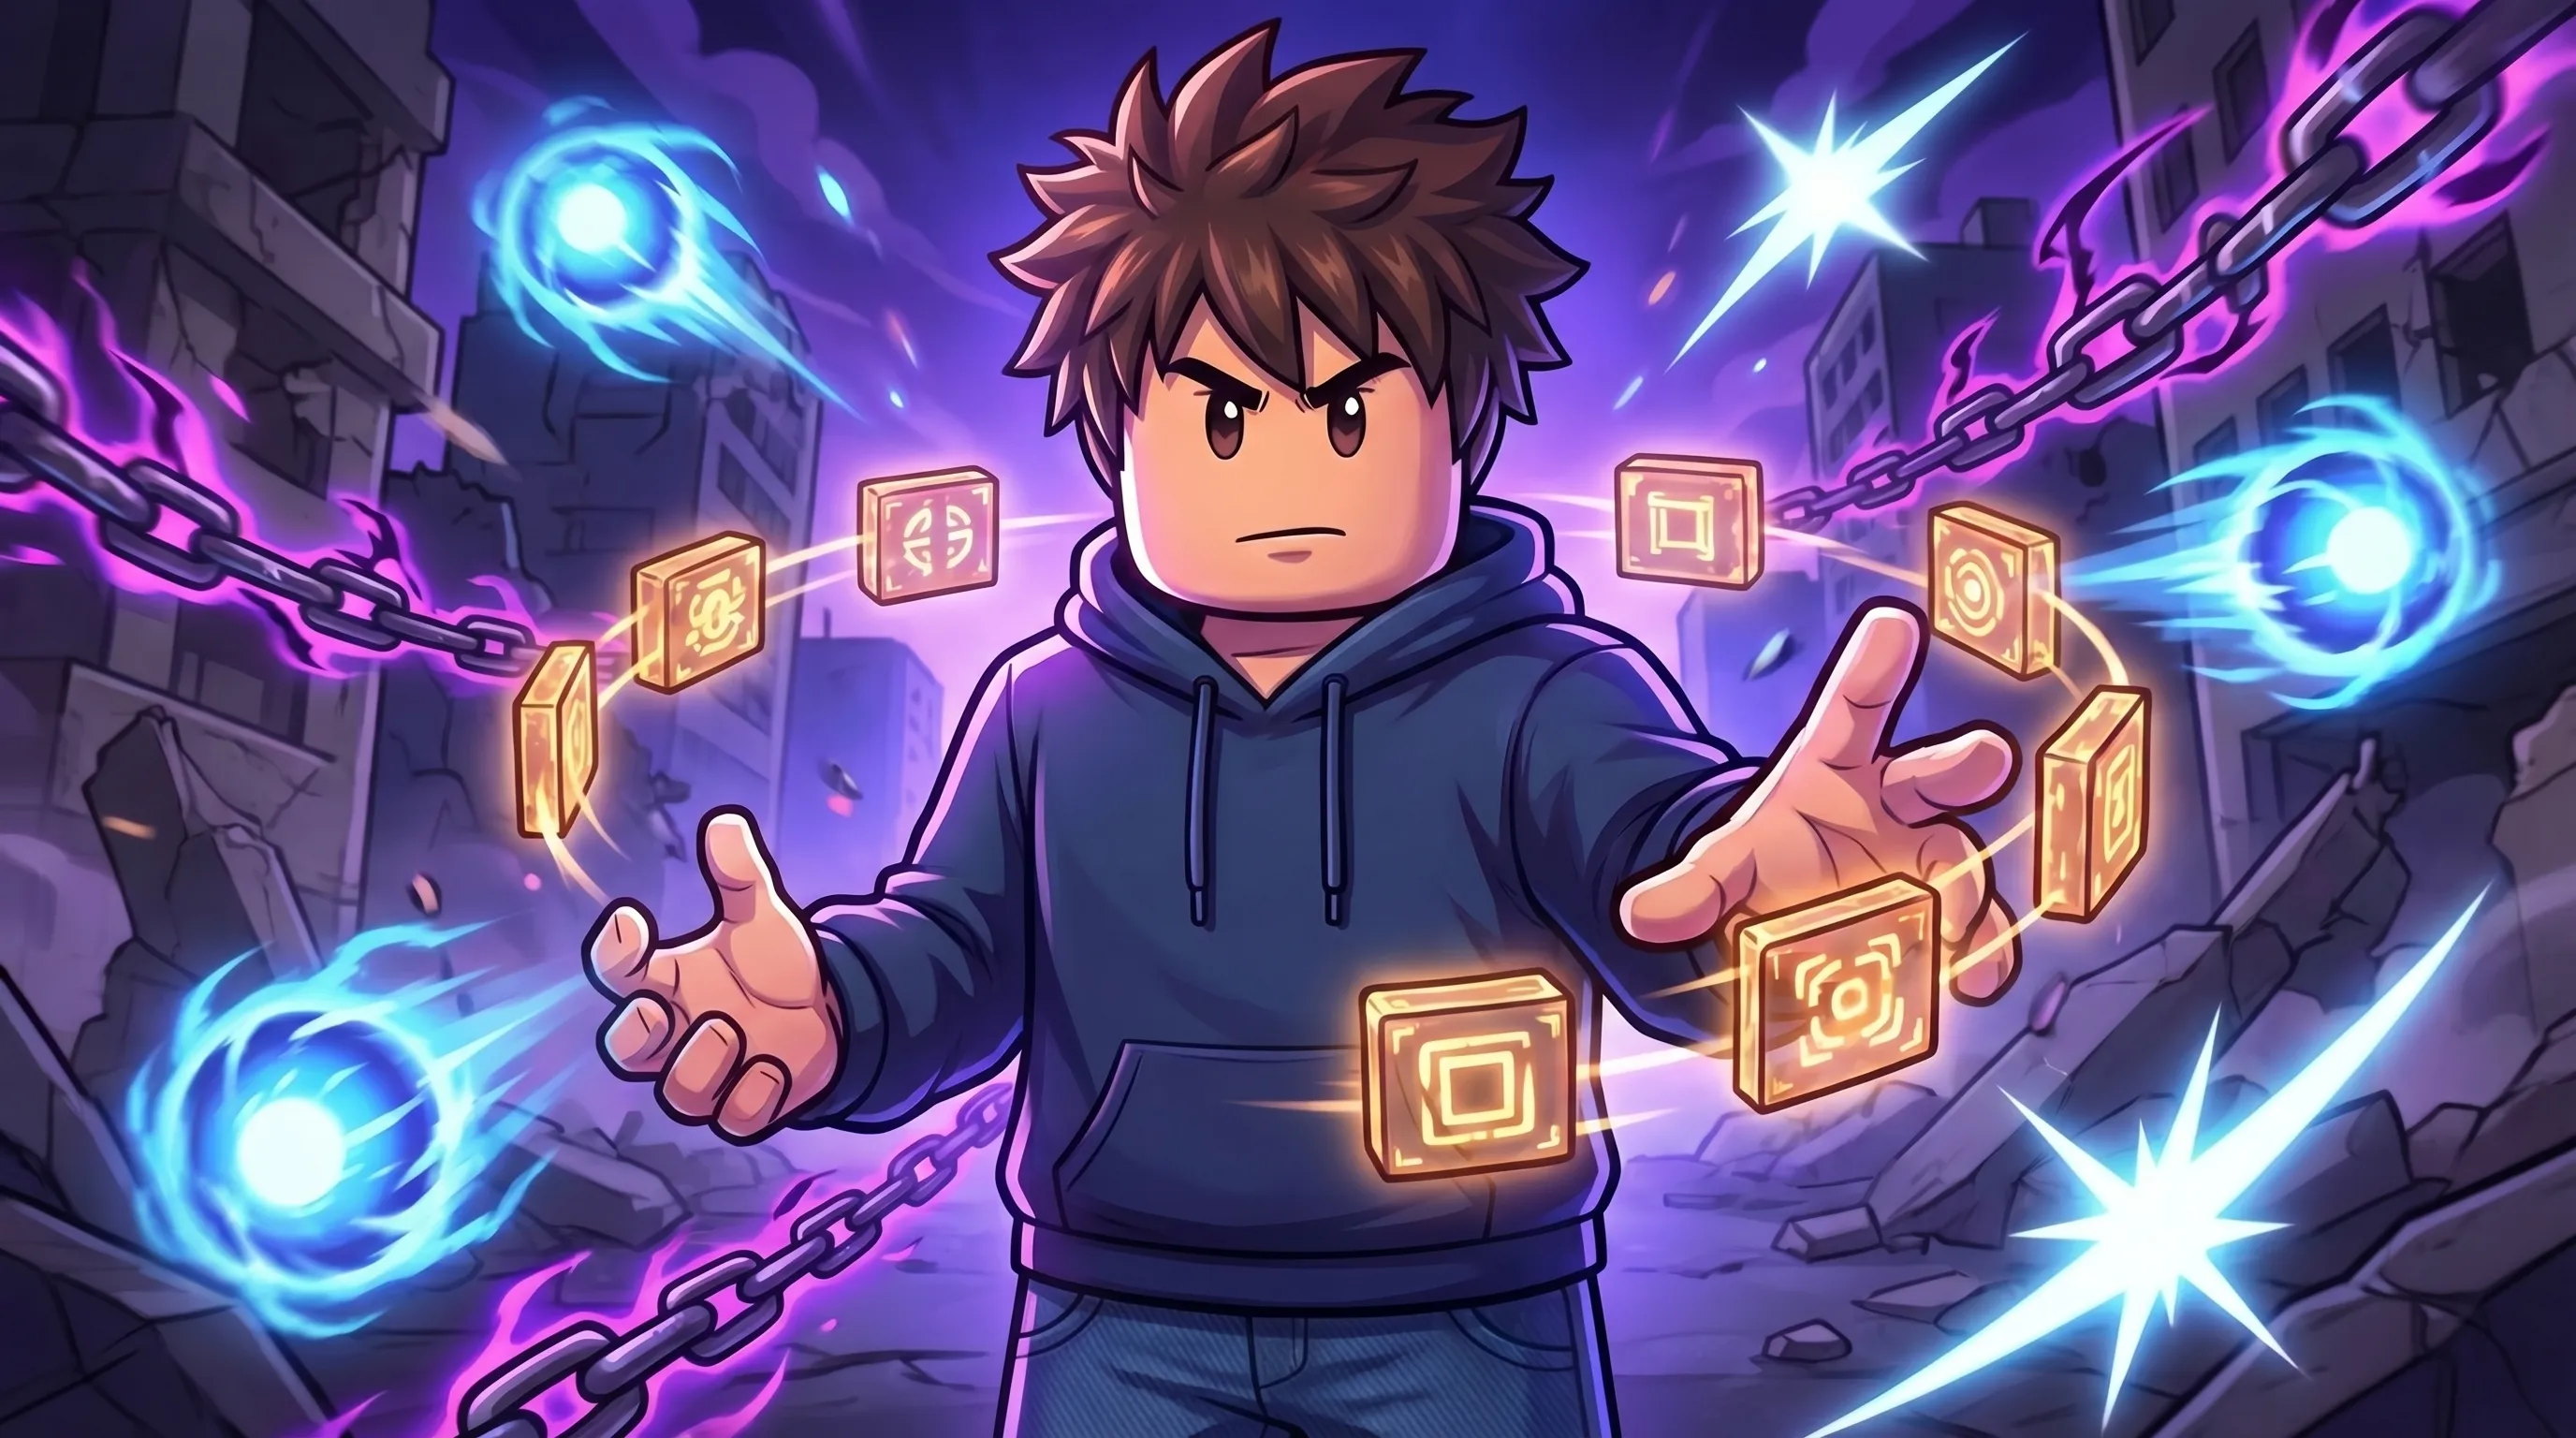
The Core Blocks — What Each One Does
The Skill Builder has grown significantly with recent updates. Here’s every major block you need to understand, explained practically rather than technically.
Velocity controls your character’s movement during a skill. It uses an XYZ coordinate system — Z moves you forward or backward, X moves you side to side, Y moves you up or down. Use negative values to reverse the direction. The Hit value determines who gets affected: set it to -1 to affect only yourself (most common for dash attacks and launchers), or 0 and above to push opponents instead (knockback). Velocity is what you use for dash attacks, aerial movement, and launch combos. Keep values under 1000 or your character will jitter. Time and Fade settings control how long the movement lasts and whether it eases out smoothly or cuts off hard.
Hitbox defines how your custom attack interacts with opponents. This is the damage-dealing block. Key settings to understand: Blockable determines whether opponents can shield against the hit — turn this off for unblockable moves, but balance it with longer cooldowns. 360 Hit makes the attack land from any direction, useful for area-of-effect moves. Cancel Enemy interrupts whatever your opponent is doing when it lands, which makes it essential for combo starters. Ragdoll Time controls how long the enemy stays ragdolled after the hit — longer ragdolls (2–3 seconds) give you combo windows, shorter ones (0.5–1 second) are better for quick follow-ups. Hitboxes can be chained in sequence to build multi-hit combos with different properties on each hit.
Projectile is what makes ranged custom moves possible. Unlike a Hitbox which stays in place, a Projectile travels through space. Set a Projectile Tag to link it with a Visual block so it actually appears on screen — without the tag connection, the damage will register but nothing will show. Speed controls how fast it travels (zero behaves like a standard stationary hitbox). Time determines how long the projectile exists before disappearing. The Continue parameter is worth knowing: if turned on, the projectile keeps moving after hitting someone, which lets you set up multi-hit projectiles using Branch Collided. Useful for chain attacks and area denial.
Grab attaches an opponent to a specific limb on your character for throws, holds, and cinematic grapples. You choose which limb of your character grabs and which part of the opponent is targeted — torso, head, or other. Position and rotation settings control how the grab looks visually. Time sets how long the grab holds. Crucially, Grab depends on Last Hit timing — set a short Last Hit window to execute grabs immediately after connecting with an attack rather than waiting.
Known bug: a single Grab node by itself will teleport the user to the target if the move ends before stun registers. Fix it by adding a Wait node for the full duration of the grab.
Counter activates a response when you get hit, turning defense into offense. To set it up, you need a branch structure: put a Rush Skill at speed 0 in one branch, add the Counter block, then create a separate “hit” branch with the skill you want to fire on counter activation. The Counter block’s Branch parameter links the two together. Counter timing is all about the window — shorter windows are harder to land but reward clean reads, longer windows are more forgiving but more predictable. Pair with visual effects like a screen flash to signal when a counter lands successfully.
State gives you control over character conditions during a move. This is how you create temporary invincibility frames (Iframes), stuns, and movement restrictions. The most powerful application is pairing State invincibility with a Counter block for safe reversal windows — but always include drawbacks.
If you create an Iframe State, always pair it with NoM1 to prevent infinite invincibility exploits. Powerful States with no drawbacks will get your custom moves banned from community servers fast.
Tag is the most advanced block in the system. It functions as a variable — a counter you can increment and check to create conditional effects, combo counters, and move variants. The practical use: set up Tag blocks to track how many times a move has hit, then branch to different effects at specific values. Hit once — light damage. Hit three times — heavy knockback. Hit five times — trigger a finisher. This is how you build multi-hit combos with evolving behaviour instead of static repeated hits.
The Three Interface Tabs
Understanding the Skill Builder layout saves a lot of confusion.
Timeline is where you sequence all your blocks. Everything happens left to right in time. A move starts, your blocks fire in order, the move ends. Branches let you create conditional paths — a ground variant and an air variant, for example — by using branch hubs that check player state before routing to the right sequence.
Conditions sets the rules for when your move can be used. You can restrict it to grounded use only, airborne only, require a minimum HP threshold, or set cooldown length. This is also where you limit how many times a move can chain into itself.
Properties handles miscellaneous settings — things like whether the move can be cancelled by the user mid-execution, whether it activates instantly on acquisition (useful for passive counter moves), and visual/audio cues.
Practical Tips for Building Your First Move
Start simple. A good first custom move is a dash attack: one Velocity block with Z movement around 30–40 and a short fade, followed immediately by a Hitbox block with moderate damage and 0.8 seconds of stun. That’s a functional rushing attack you can test and adjust. Once that works cleanly, start layering complexity.
Test everything in isolation before combining blocks. The most common source of bugs is chains of blocks that interact in unexpected ways. Build one piece, test it, then connect the next.
Cursed Energy colour codes worth knowing for visuals: blue is (85, 170, 255), pink is (245, 105, 255), purple is (170, 85, 255), green is (85, 255, 127). Matching your custom move’s aesthetics to your character’s energy type makes builds look intentional rather than thrown together.
Custom moves have a 150-second time limit. That’s more than enough for anything practical, but complex Mesh visuals and stacked effects can tank game performance. Keep your visual effects lean and test on lower-end connections before sharing builds with others.
For the community side of things, the official JJS Discord (Tze’s server) and the r/JujutsuShenanigans subreddit are where most of the advanced build sharing happens. If you want to see what’s actually possible before building it yourself, watching YouTube tutorials for specific block combos is genuinely the fastest way to understand the logic flow.
What You Can Build Once You Have the Basics
Once you’re comfortable with the individual blocks, the combinations are where Skill Builder actually gets interesting. A Projectile into Grab combo creates a ranged grab starter — fire the projectile, and if it connects, the Grab activates immediately after, giving you a cinematic combo opener from range. A Counter with State invincibility gives you a defensive reversal that makes aggressive opponents think twice about spamming. A Tag-tracked finisher turns a simple three-hit combo into something with a satisfying escalating structure where the third hit hits noticeably harder.
The Skill Builder has turned JJS into something genuinely creative beyond its core PvP loop. Whether you want to build the most competitive custom kit possible or just make something that looks like a real Jujutsu Kaisen ability, the tools are there. Start small, iterate often, and don’t be afraid to break things while figuring out how it all fits together.
Final Thoughts
Skill Builder rewards patience more than most systems in Roblox. The first few builds will feel clunky — that’s normal. The logic clicks once you’ve broken a couple of moves and figured out why. After that it becomes genuinely addictive.
A quick recap of what matters most: Velocity for movement, Hitbox for damage, Projectile for range, Grab for throws, Counter for reversals, State for Iframes (with NoM1), and Tag for conditional combos. Those seven blocks cover 90% of what makes a move feel complete.
If you enjoy Roblox’s competitive fighter scene, our Arsenal movement guide is worth reading alongside this — a lot of the same principles around movement and reads apply. And if you’re newer to Roblox’s PvP side in general, the Roblox Rivals beginner guide is a solid starting point before diving into custom move creation.